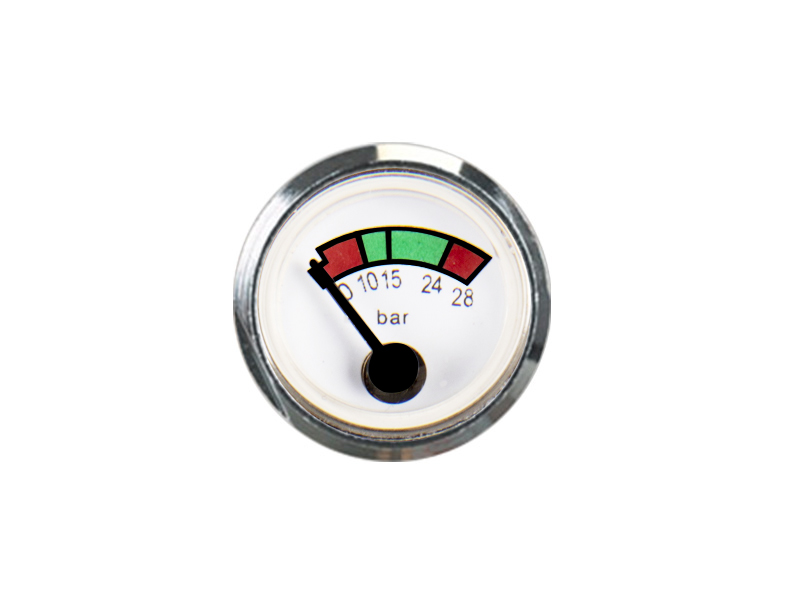
Visual inspection 1. The newly manufactured pressure ga […]
Visual inspection
1. The newly manufactured pressure gauge should be even and smooth without obvious peeling.
2. The assembly of pressure gauge components should be firm and free of looseness.
3. The following marks should be on the pressure gauge index plate, the manufacturing unit or trademark; the product name; the measurement unit and digital measurement equipment manufacturing license mark and number, and the vacuum gauge should have the "-" or "negative" mark, accuracy Grade, factory number.
4. The pressure gauge should have a safety hole, and there must be a dustproof device on the safety hole. (Except the pressure gauge that the measured medium overflows outside the table)
5. The pointer indicating end should cover 1/3~2/3 of the length of the shortest dividing line, and the width of the pointer indicating end should not be greater than the width of the dividing line.
6. In the reading part, the pressure gauge glass should be colorless and transparent, and there should be no defects that hinder the reading. The indexing plate should be smooth and clean, and the marks should be clear and legible.
7. Zero position, pressure gauge with stop pin, when there is no pressure, the pointer should be close to the stop pin, "indent" should not exceed the allowable error value specified in Table 1, pressure gauge without stop pin, when there is no pressure The pointer should be within the zero mark, and the zero mark should not exceed the allowable error value 2 times specified in Table 1.
8. Commonly used accuracy levels are ±1%FS, ±1.6%FS, ±2.5%FS, ±4%FS.
measuring tools
1. The working medium requires a pressure gauge with an upper measurement limit of no more than 0.25MPA. The working medium is clean air or non-toxic, harmless and chemically stable gas. The pressure gauge with a lower measurement limit of not more than (0.25~250) MPA, the working medium is a non-corrosive liquid.
2. The environmental conditions are that the temperature is between 15 and 25°C and the relative humidity is not greater than 85%. The ambient pressure is atmospheric pressure, and the pressure gauge should be allowed to stand at least 2H in the above environment for verification.
3. The allowable error value of the standard device should not be greater than 1/4 of the allowable error value of the tested pressure gauge.
4. Standard instruments can use spring tube type precision pressure gauges and vacuum gauges, piston pressure gauges, piston vacuum pressure gauges
5. Auxiliary equipment includes pressure calibrator and vacuum calibrator.
A
1. When the upper limit of pressure measurement is 0.06MPA, the three-point indication value of the vacuum part is verified.
2. When the upper limit of pressure measurement is 0.15MPA, the vacuum part is tested for two points.
3. When the upper limit of pressure measurement is (0.25~250) MPA, the vacuum part is verified. When empty, the pointer should point to the vacuum part.
Verification of indication error, return error, and tap displacement
1. The method for verifying the indication error. The verification of the indication of the pressure gauge is carried out according to the graduation line marked with numbers;
At the time of inspection, the pressure is gradually and steadily increased (or reduced). When the indicated value reaches the upper limit of detection, the pressure source is cut off and the pressure is 3MIN, and then the pressure is lowered (or increased) in reverse order according to the original verification point.
2. Return error: For the same point check timing, during the step-up (or step-down) and step-down (or step-up) check, the permissible error value specified in Table 1 is given.
3. Tap the displacement, and at each point of checking, during the step-up (or step-down) and step-down (or step-up) check, the indication value caused by the light weight case is not greater than the allowable error value specified in Table 1. 1/2.
4. Indication value error, for each verification point, Ai Chi Mall reminds you that during the step-up (or step-down) and step-down (or step-up) check, the lightness of the case front and back and the standard display value The difference should meet the requirements
